Game Boy Color Frontscreen Mod
Final Product
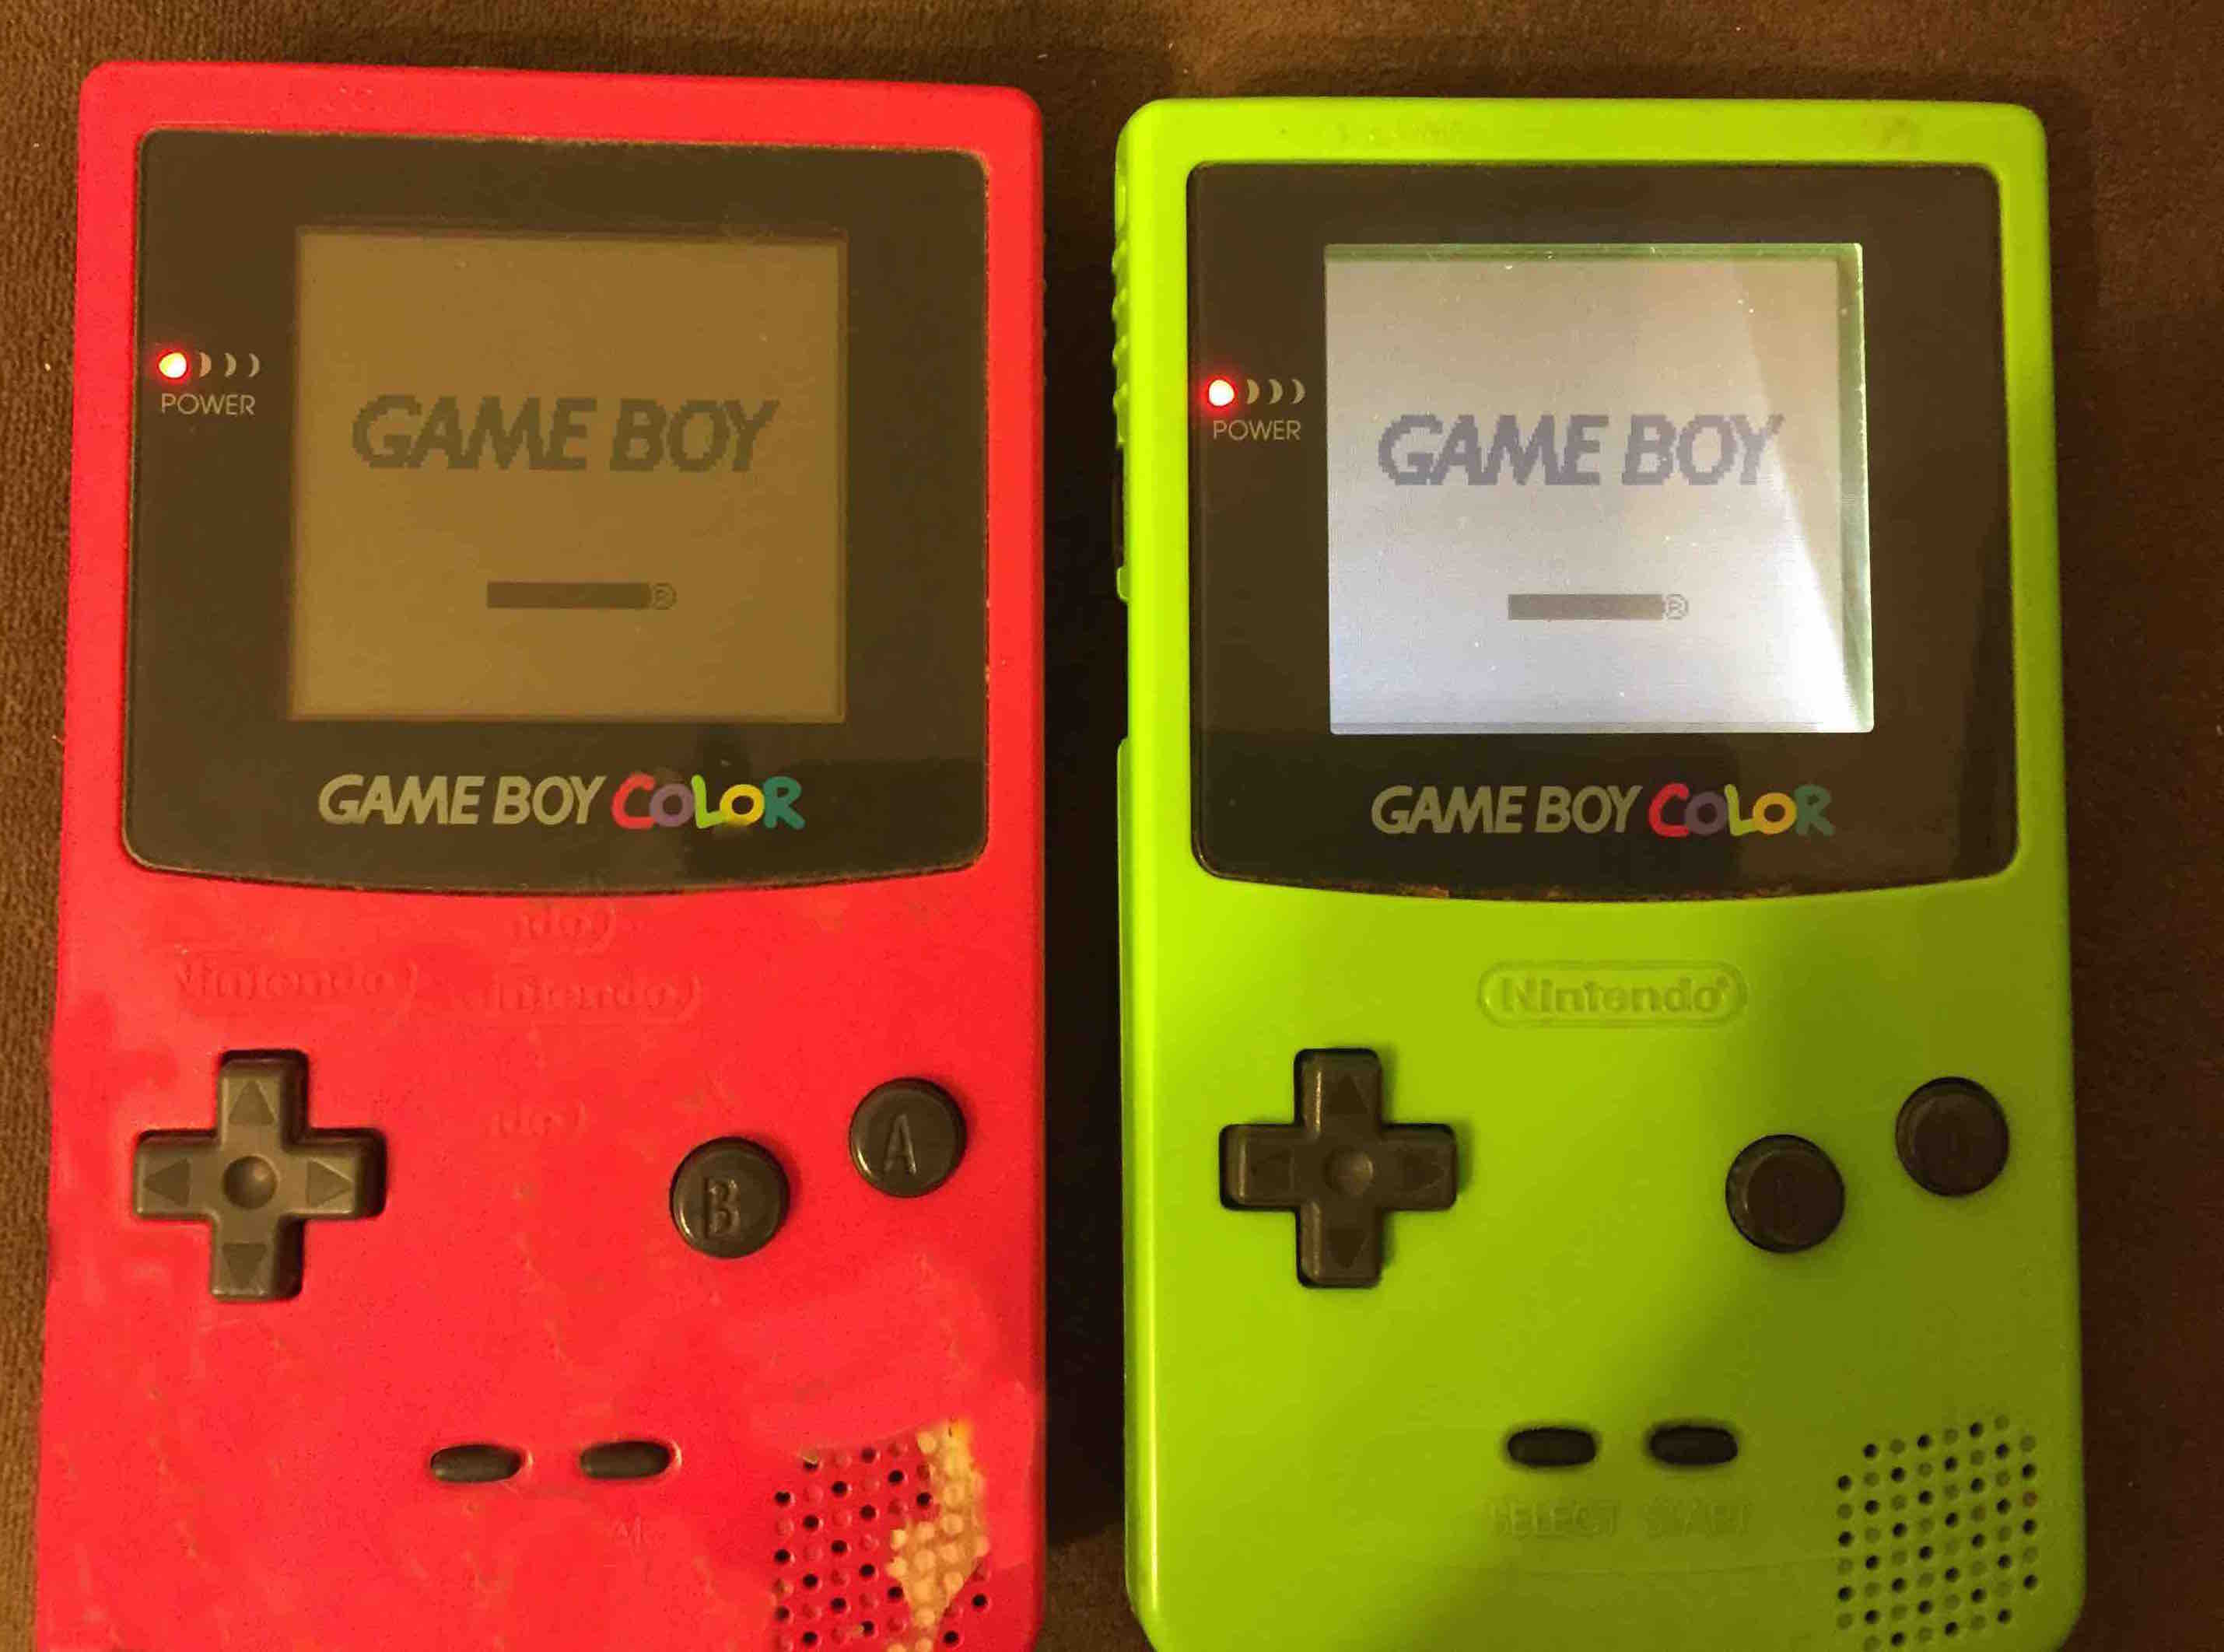
I wanted to frontlight my gbc, as modern screens have spoiled me to the point where the original gameboy color screen appears almost unreadable. There are a lot of cool mods on /r/gameboy, so after doing some research I finally bought an SP and started on the mod. I was pretty nervous after looking at all the tutorials, but I'm surprised (and happy) to say that it worked out!
The method I ended up using takes the front light from an AGS-001, cuts it so that it fits horizontally, and solders the connection just like the vertical mod. This is (supposedly) better as it's the way the SP was intended to be viewed, however I don't have any comparison pics or proof of this.
The method used here is the same one in:
- this video: (https://www.youtube.com/watch?v=34urFtGnyqw)[https://www.youtube.com/watch?v=34urFtGnyqw]
- this tutorial: (http://www.mylkstuff.com/page87.htm)http://www.mylkstuff.com/page87.htm
The process is similar to the following vertical methods:
- http://mikejmoffitt.com/wp/?p=70
- https://www.youtube.com/watch?v=4TRWdsKQnmw
- https://www.youtube.com/watch?v=xpxs1K7SmeY
(excuse the sticker residue on the gbc on the left)
Overview
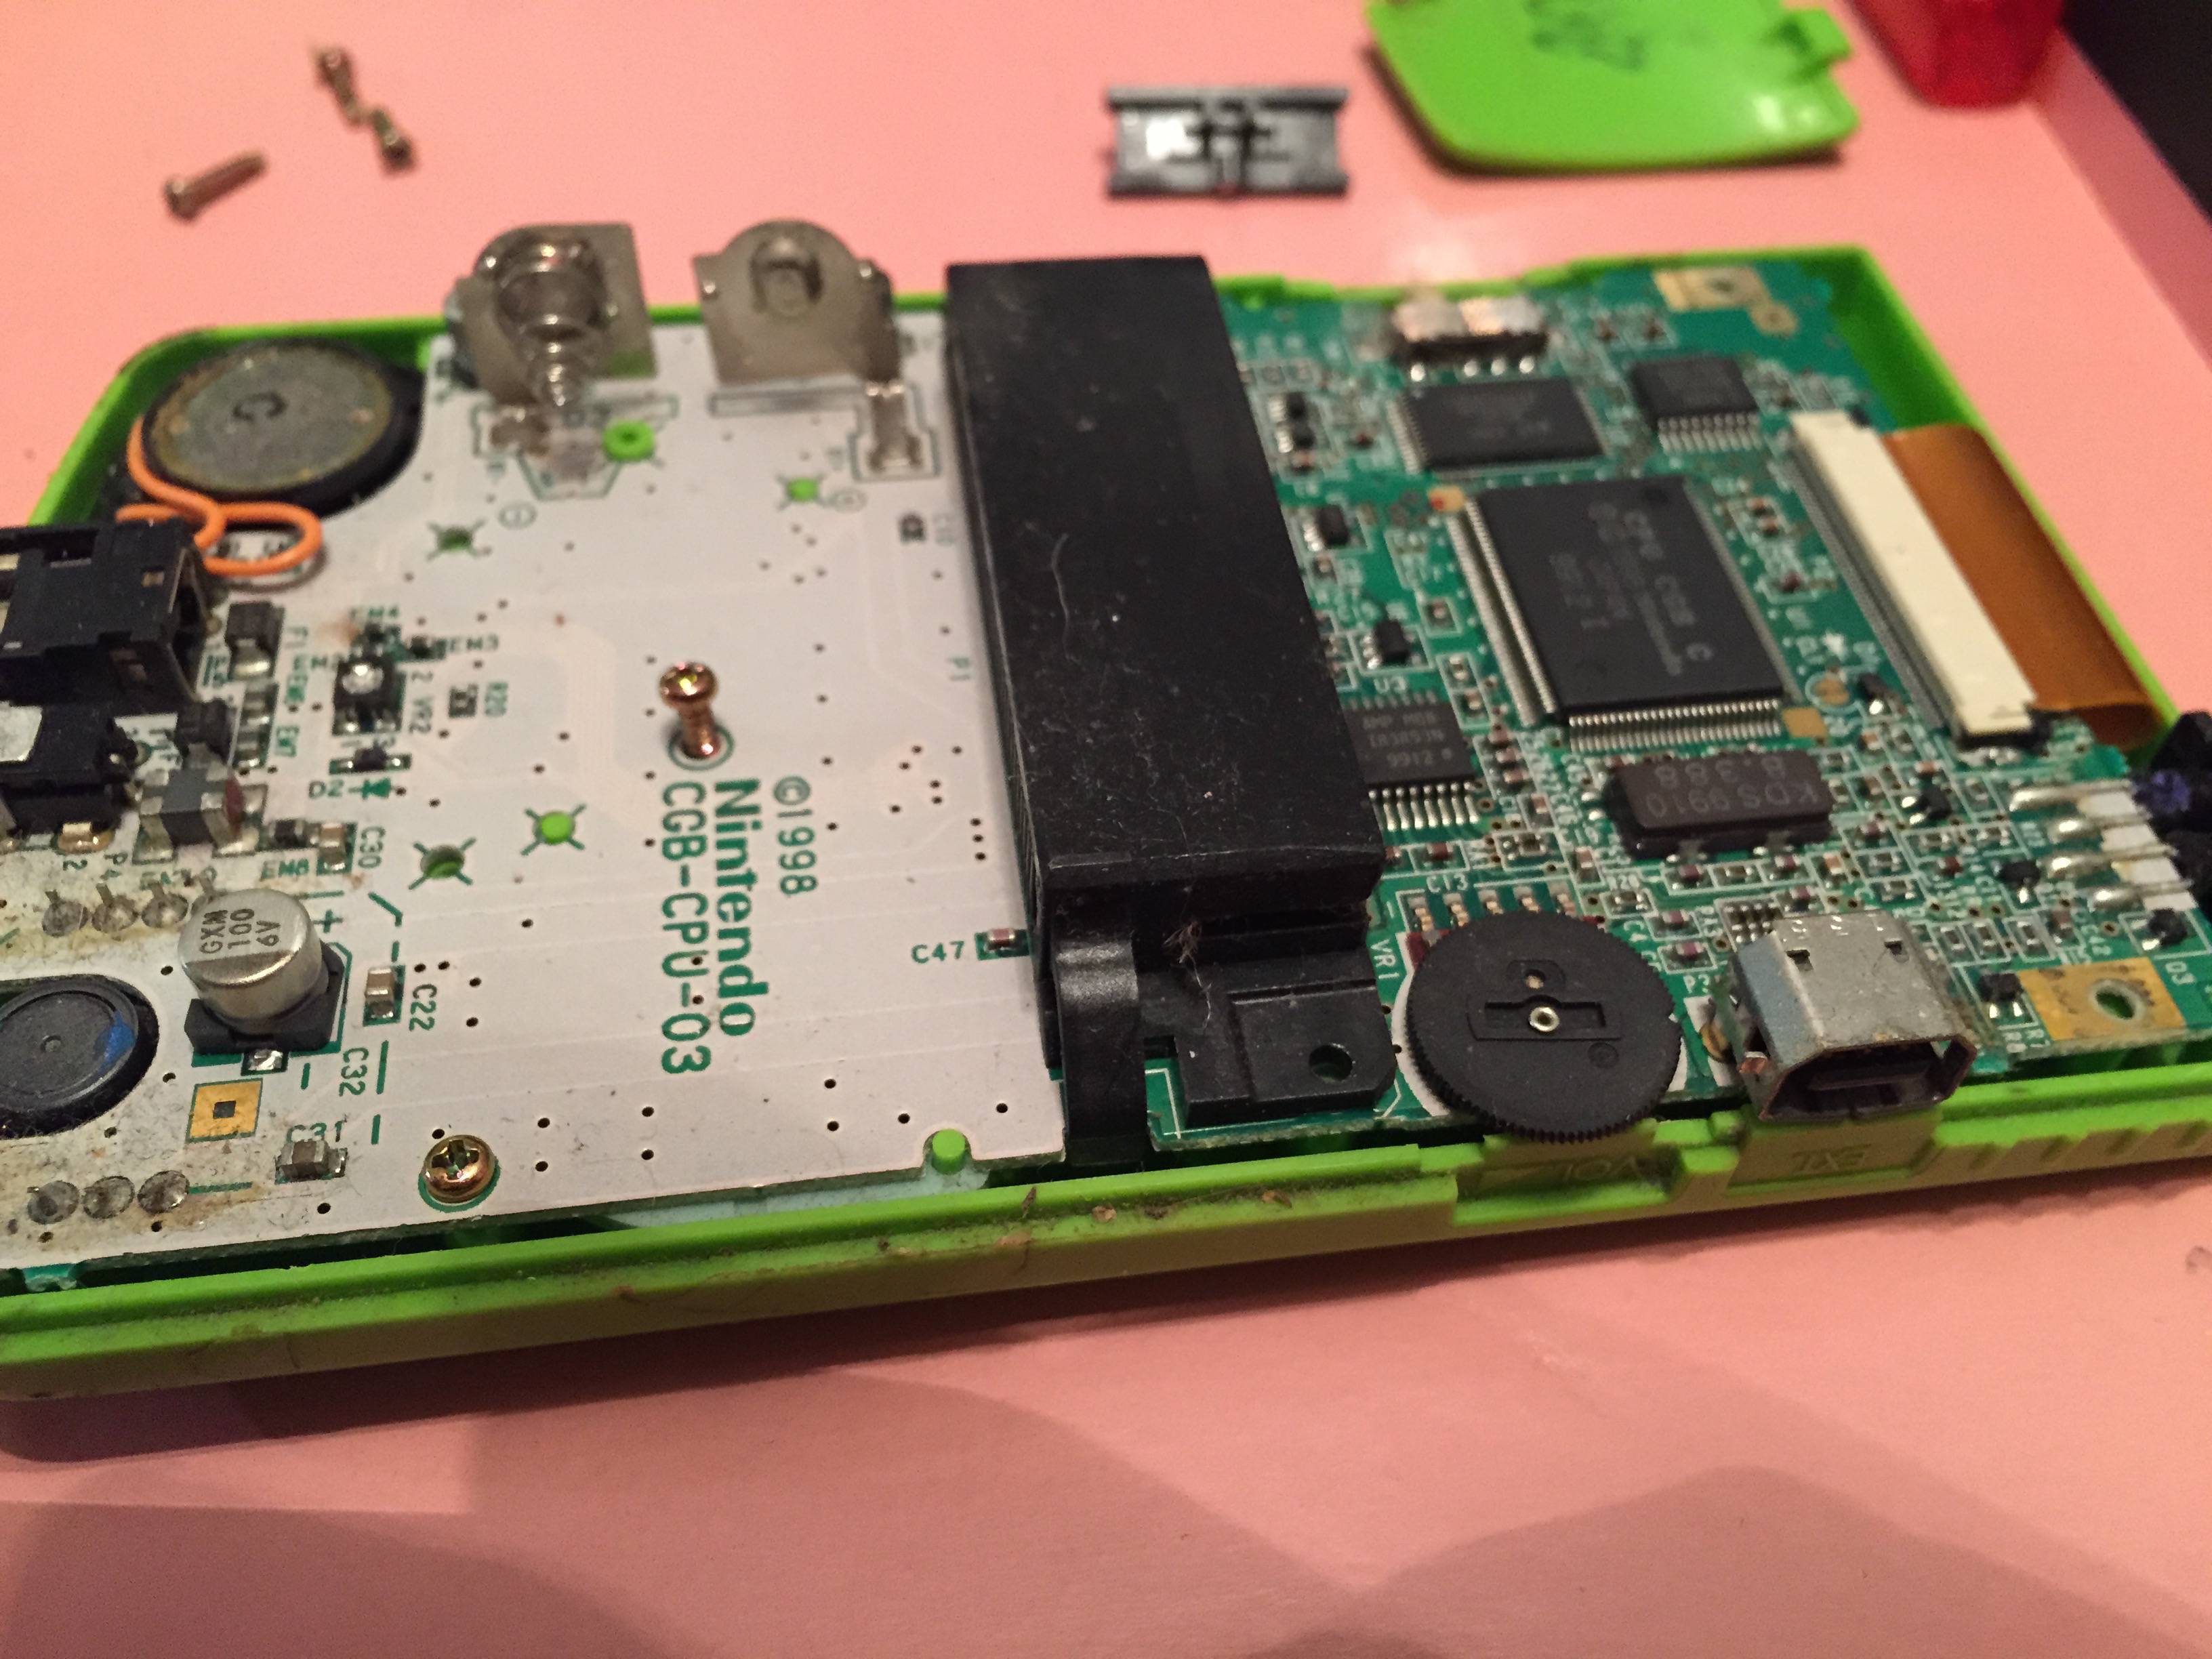
I didn't take the pictures in this album as a tutorial, but one reason I wanted to make the album was because of the scarce amount of information out there on the horizontal SP mod. I wanted to let it be known that it isn't THAT hard. I only went through 1 SP to make the mod, and I'm pretty happy with how it turned out.
Part list:
1. AGS-001 game boy advanced SP - I bought a broken one from ebay for $15. The hint to tell which one is an 001 is to look at the colors: http://en.wikipedia.org/wiki/List_of_Game_Boy_colors_and_styles#Basic_colors_6
2. 47 Ohm resistor - I had no idea what a resistor was prior to starting this project, but my Radio Shack had a pack of 5 of these for $1.50
3. some wire, rosin-core solder, soldering gun - I will say make sure you have a good soldering gun, it was my first time soldering but the first gun I was using was battery operated and hard to use
4. dremel - the mylk tutorial says you can use a hacksaw but I had NO LUCK with that. The screen cover is plastic and a dremel cut through it very easily
5. triwing, flathead, and philips screwdrivers and pliers - I had previously purchased a triwing for some wii repair, and I remember it taking a long time to ship
6. game boy color!
7. rubber gloves to prevent fingerprints
The Cut
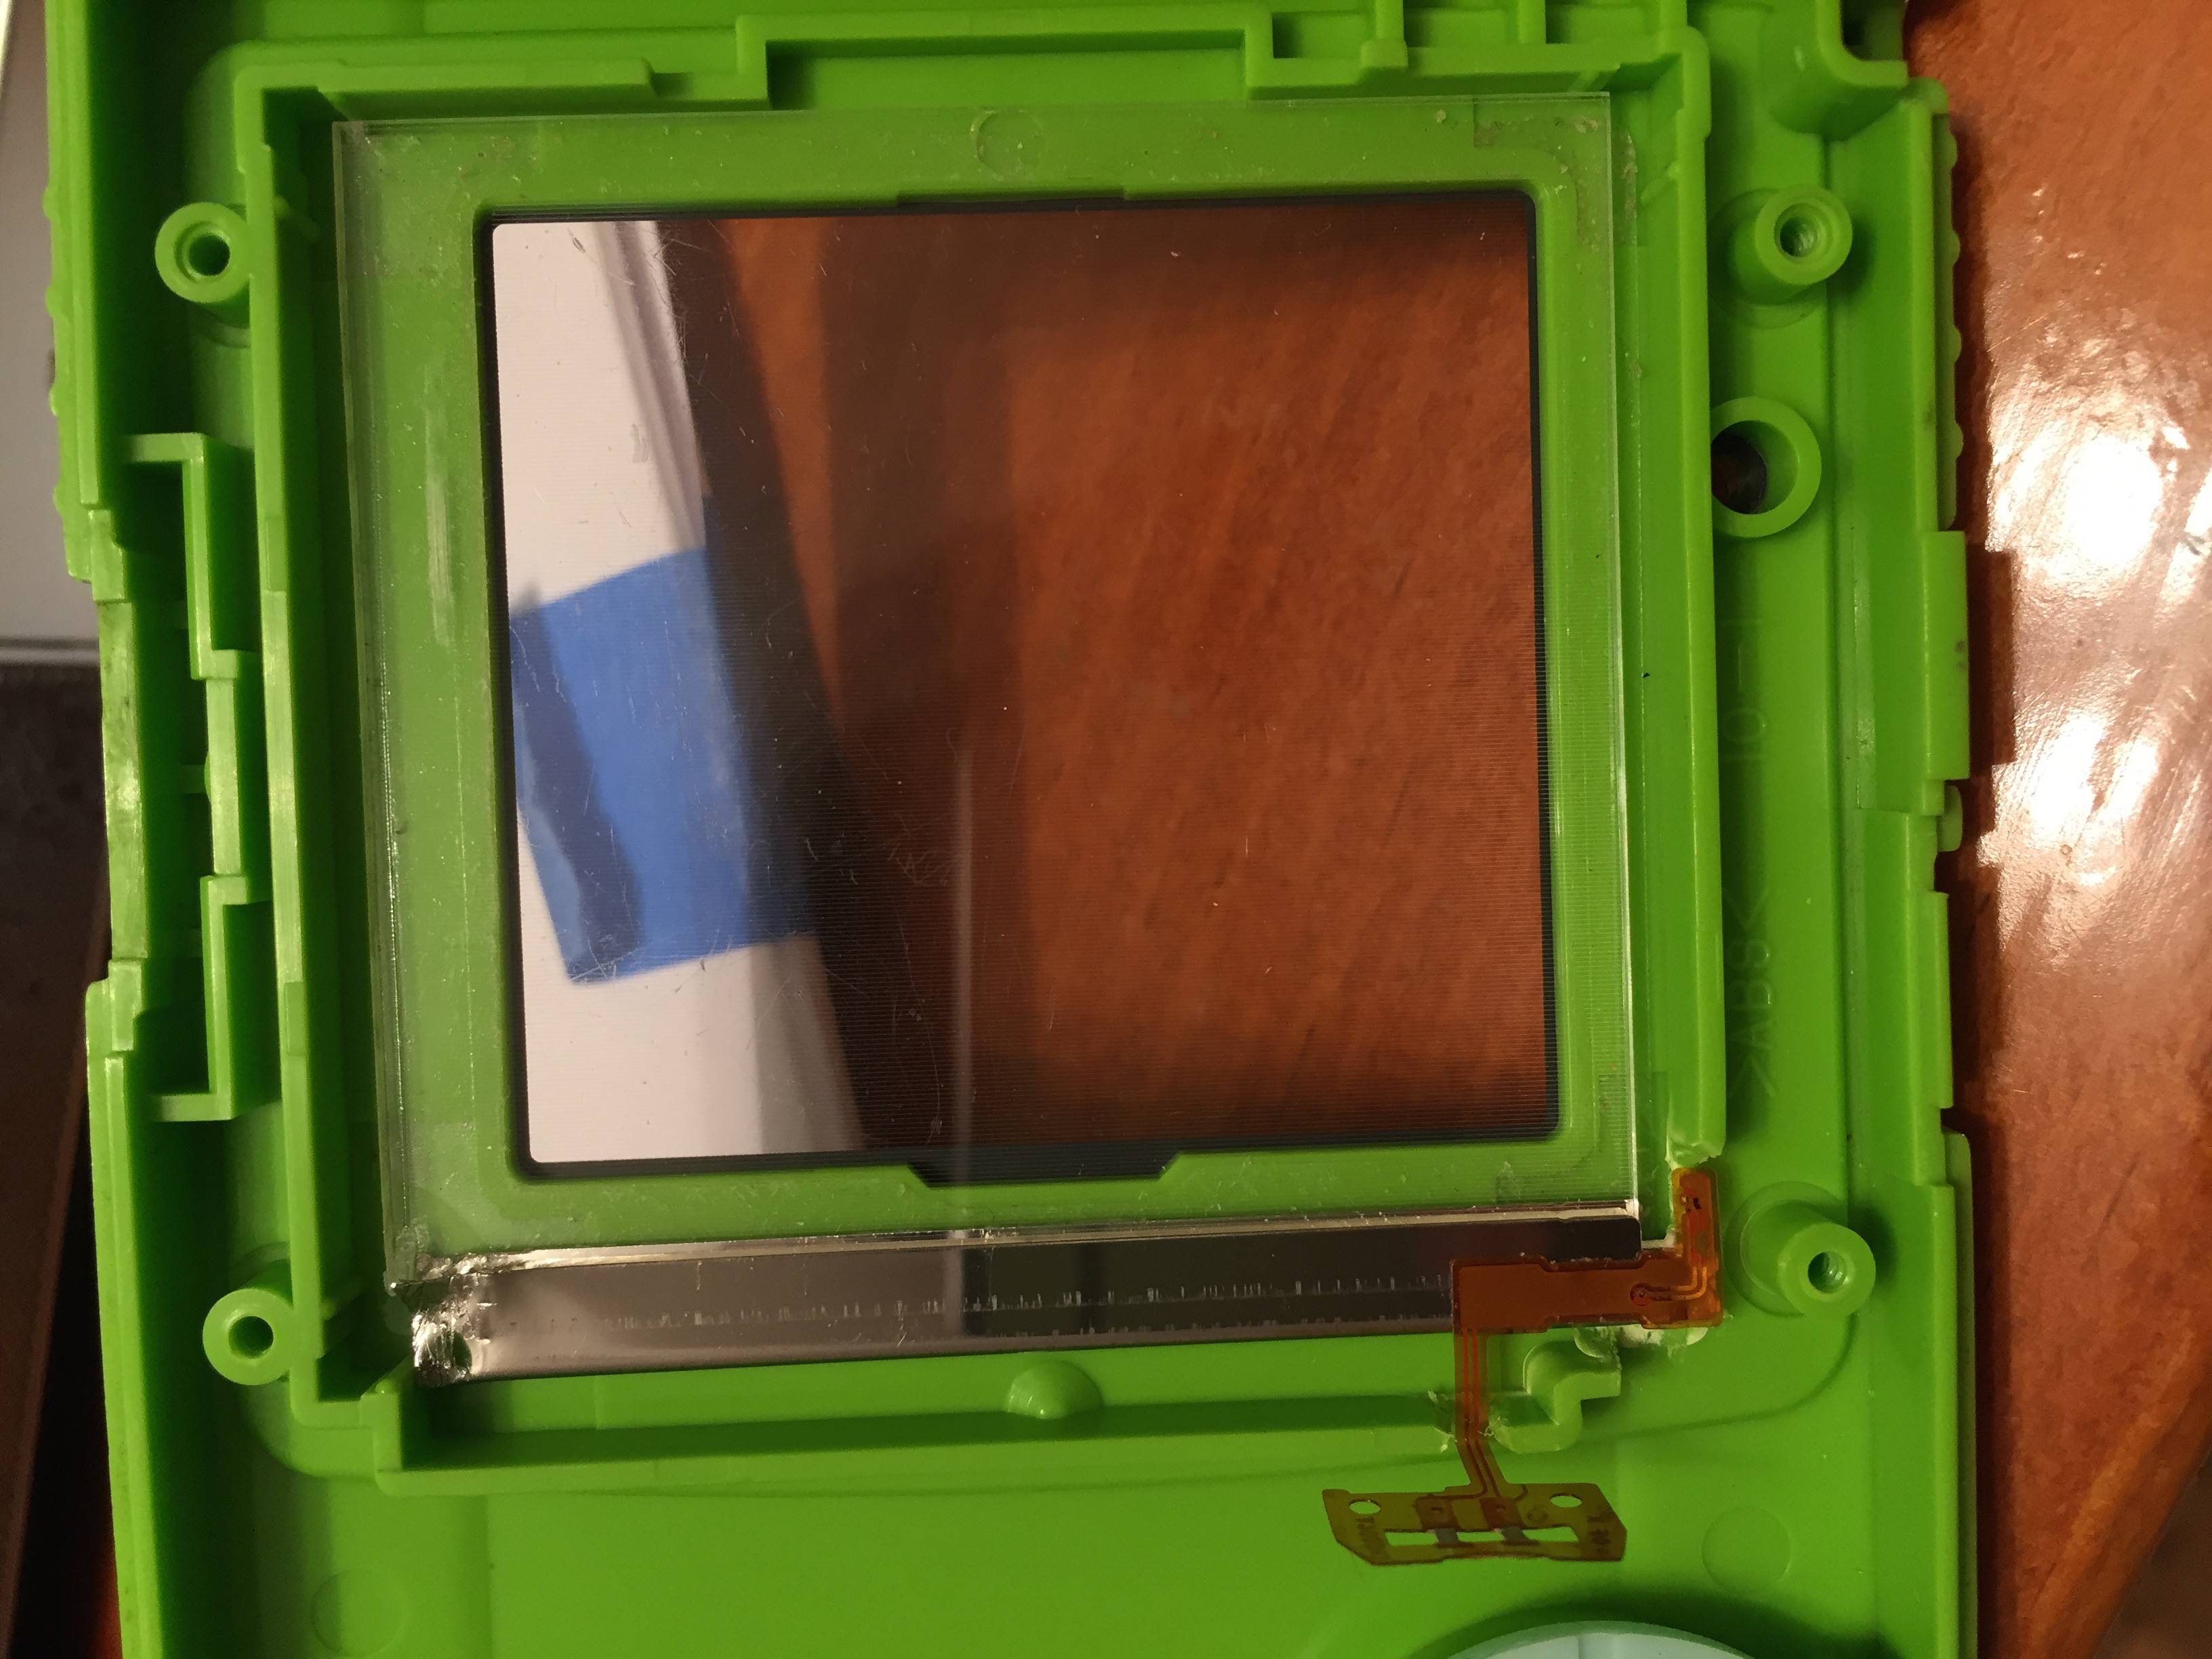
Pictured here is the SP front light removed, cut, and plopped down into the GBC. It has three parts: the square (previously rectangular) plastic polarized cover, the metal bar along the bottom that is attached to the LED on the far right, and a thin strip of nonpolarized glass that is inside of the metal bar. The led light shines down through this nonpolarized glass, and then is reflected up through the polarized layer.
I actually made a really bad mistake in the bottom left, as I cut the glass inside of the metal too short, and then I cut the metal bar too short and had to readjust it several times (making it look as bad as it does here). Normally the bar+glass are supposed to be slightly longer than the width of polarized layer, but not in my case.
I don't have any pictures of the process, unfortunately. Hopefully the mylk link will come back up as there are some really nice pictures in there. (It went down WHILE I was doing this). I didn't follow the same instructions on where to position the cover it as I didn't want to rip up that much plastic from the GBC case. The only plastic parts that I removed are in the bottom right to make room for the LED and the cable that comes off the screen, and this was done with pliers.
I used a dremel to cut the polarized layer along the left, and the pliers to make cuts to the inner glass and metal. I actually made a pretty significant scratch in the top left of the polarized layer when making the cut, but since it's offscreen it appears to be fine.
Picture 1
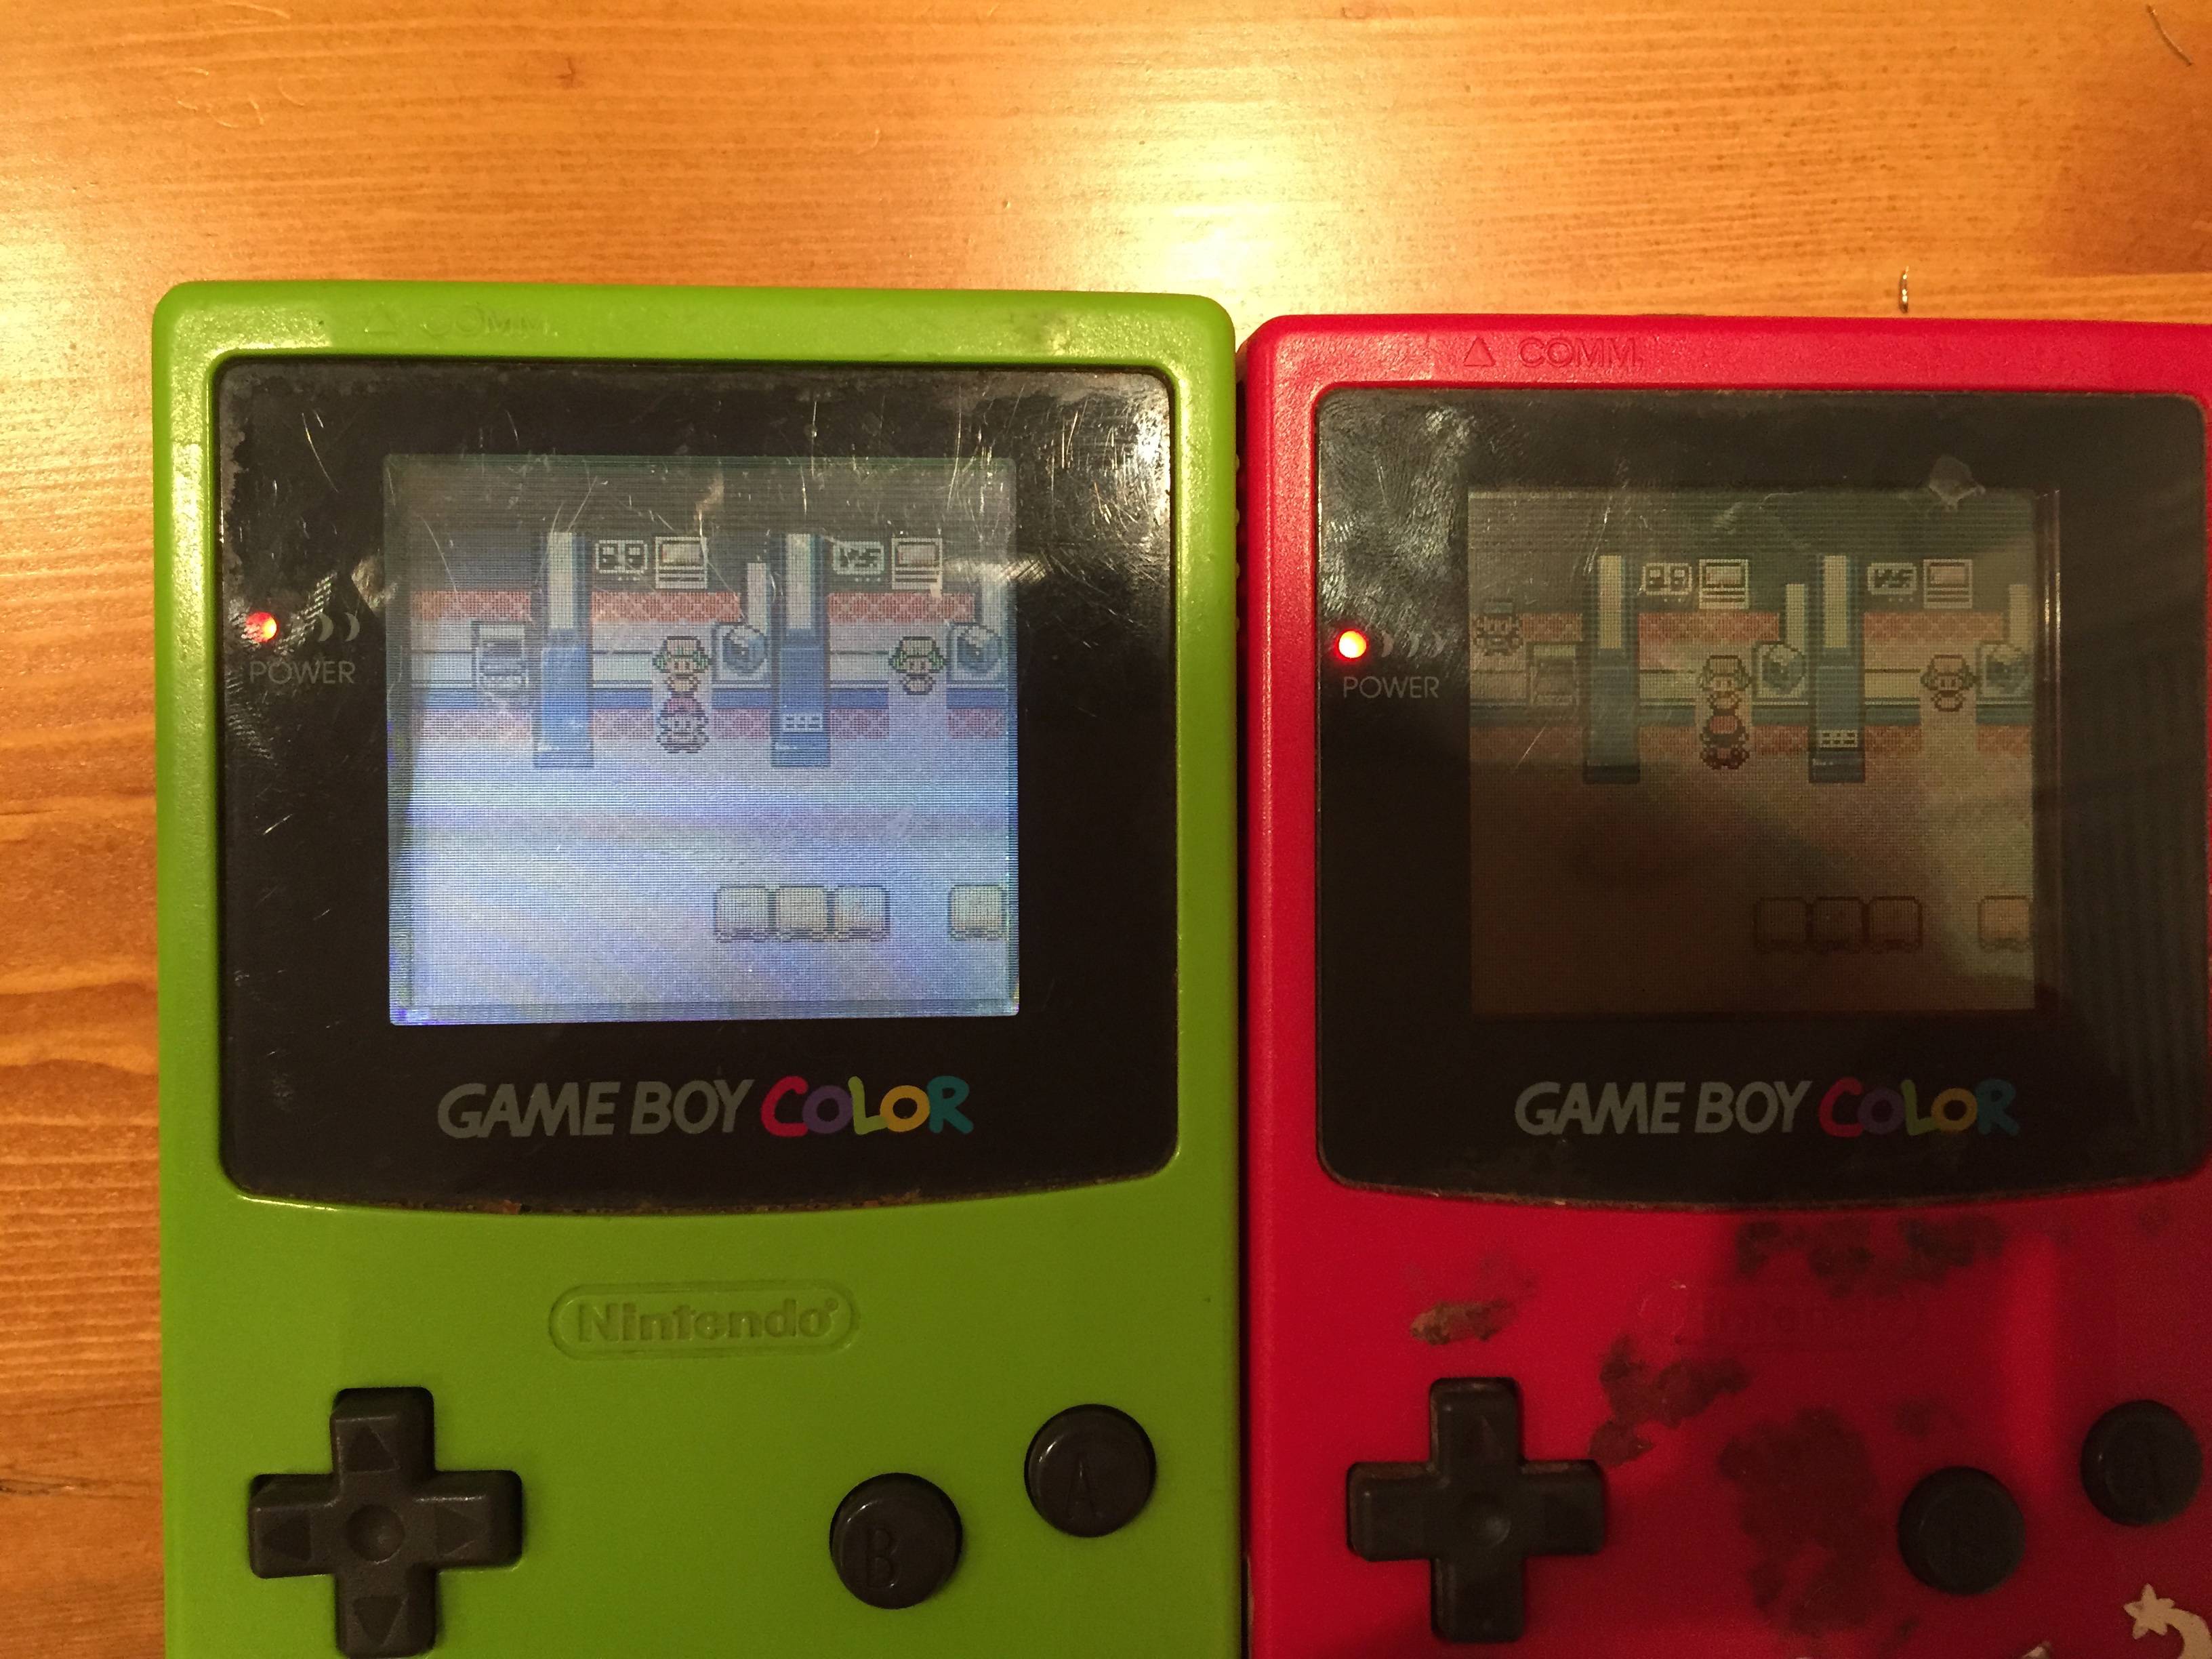
It's much easier to see than the non-lit GBC. The colors do not appear to be faded at all, which I'm pretty happy about. I don't have any measurement on battery life as I've been using it with the AC adapter, but I've been told it's about 2 hours. (looking into adding internal rechargeable batteries for my next mod: http://nintendoage.com/forum/messageview.cfm?catid=22&threadid=122549)
Picture 2
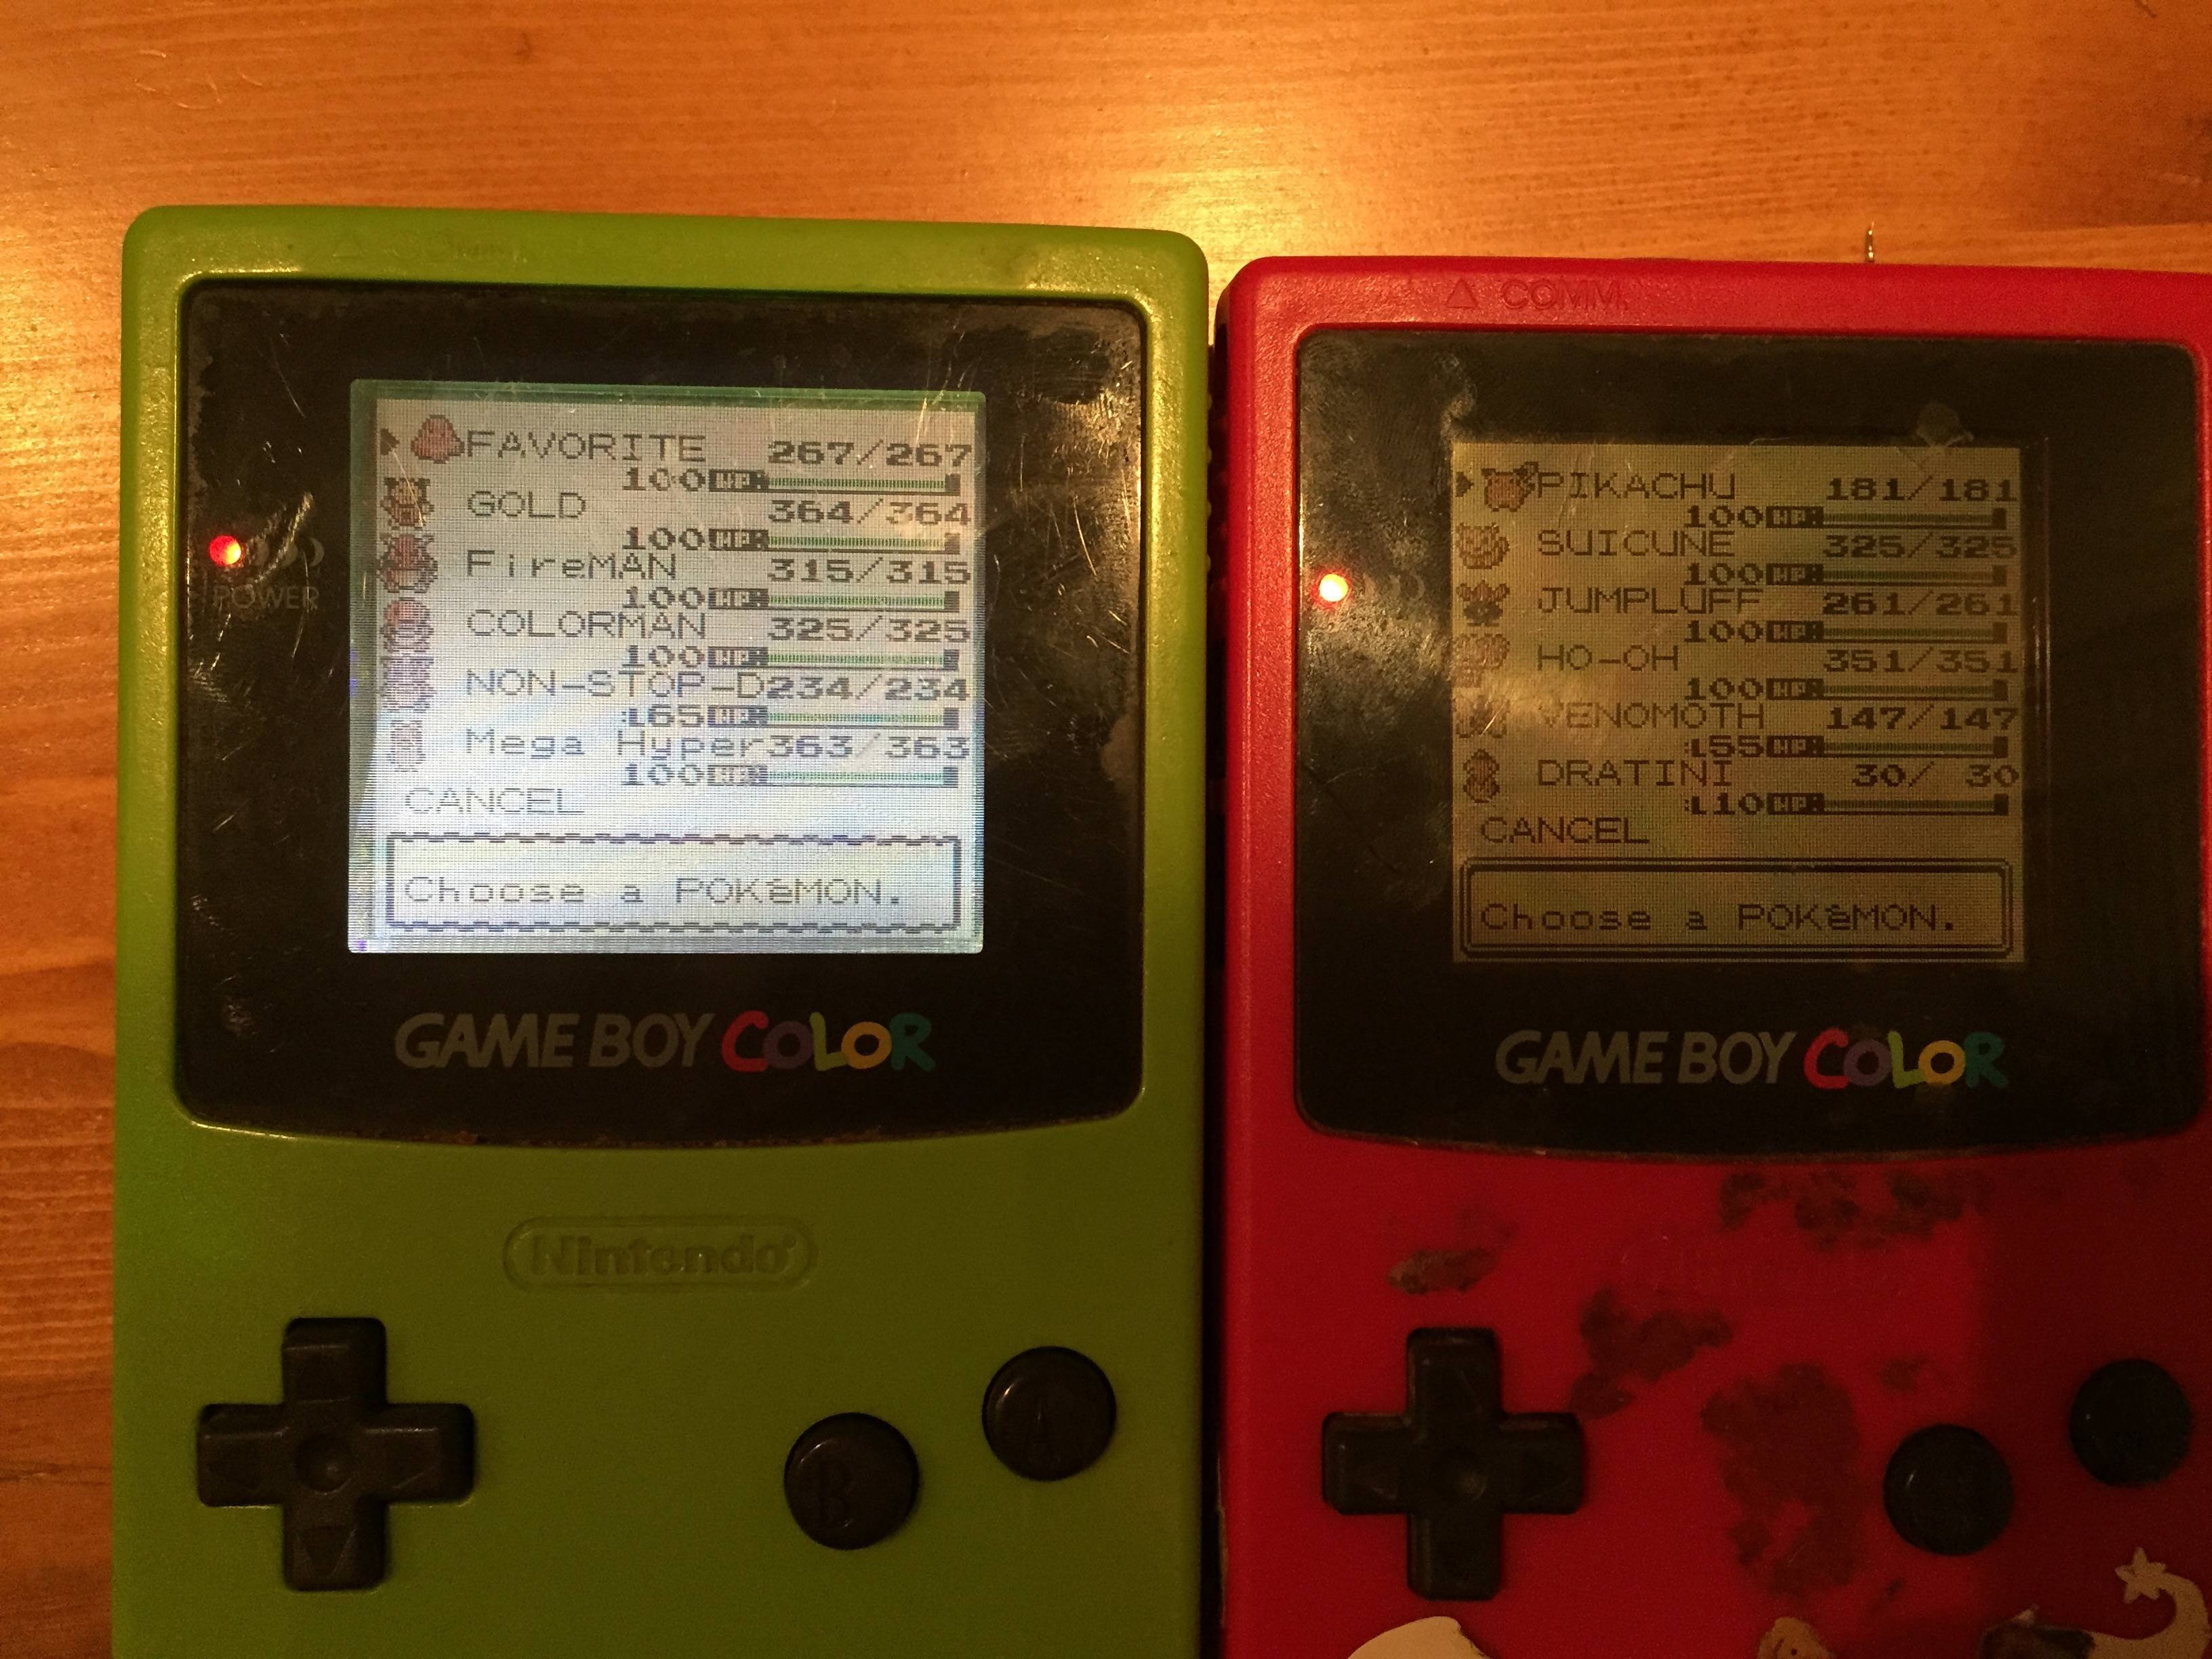
Maybe I'm just biased, but I feel like these pictures don't really do it justice. It's pretty reflective to look at head on, but when you're holding it the very small shift in angle makes it look more natural. The light might be a little more intense along the bottom than the top, but that's more noticeable in the pictures and probably due to my poor snipping job on the metal frame.
I wish I had more things to compare the light to (such as another AGS-001) but I don't have them on hand right now. I will make an update to this post if I can get such a picture.
Picture 3
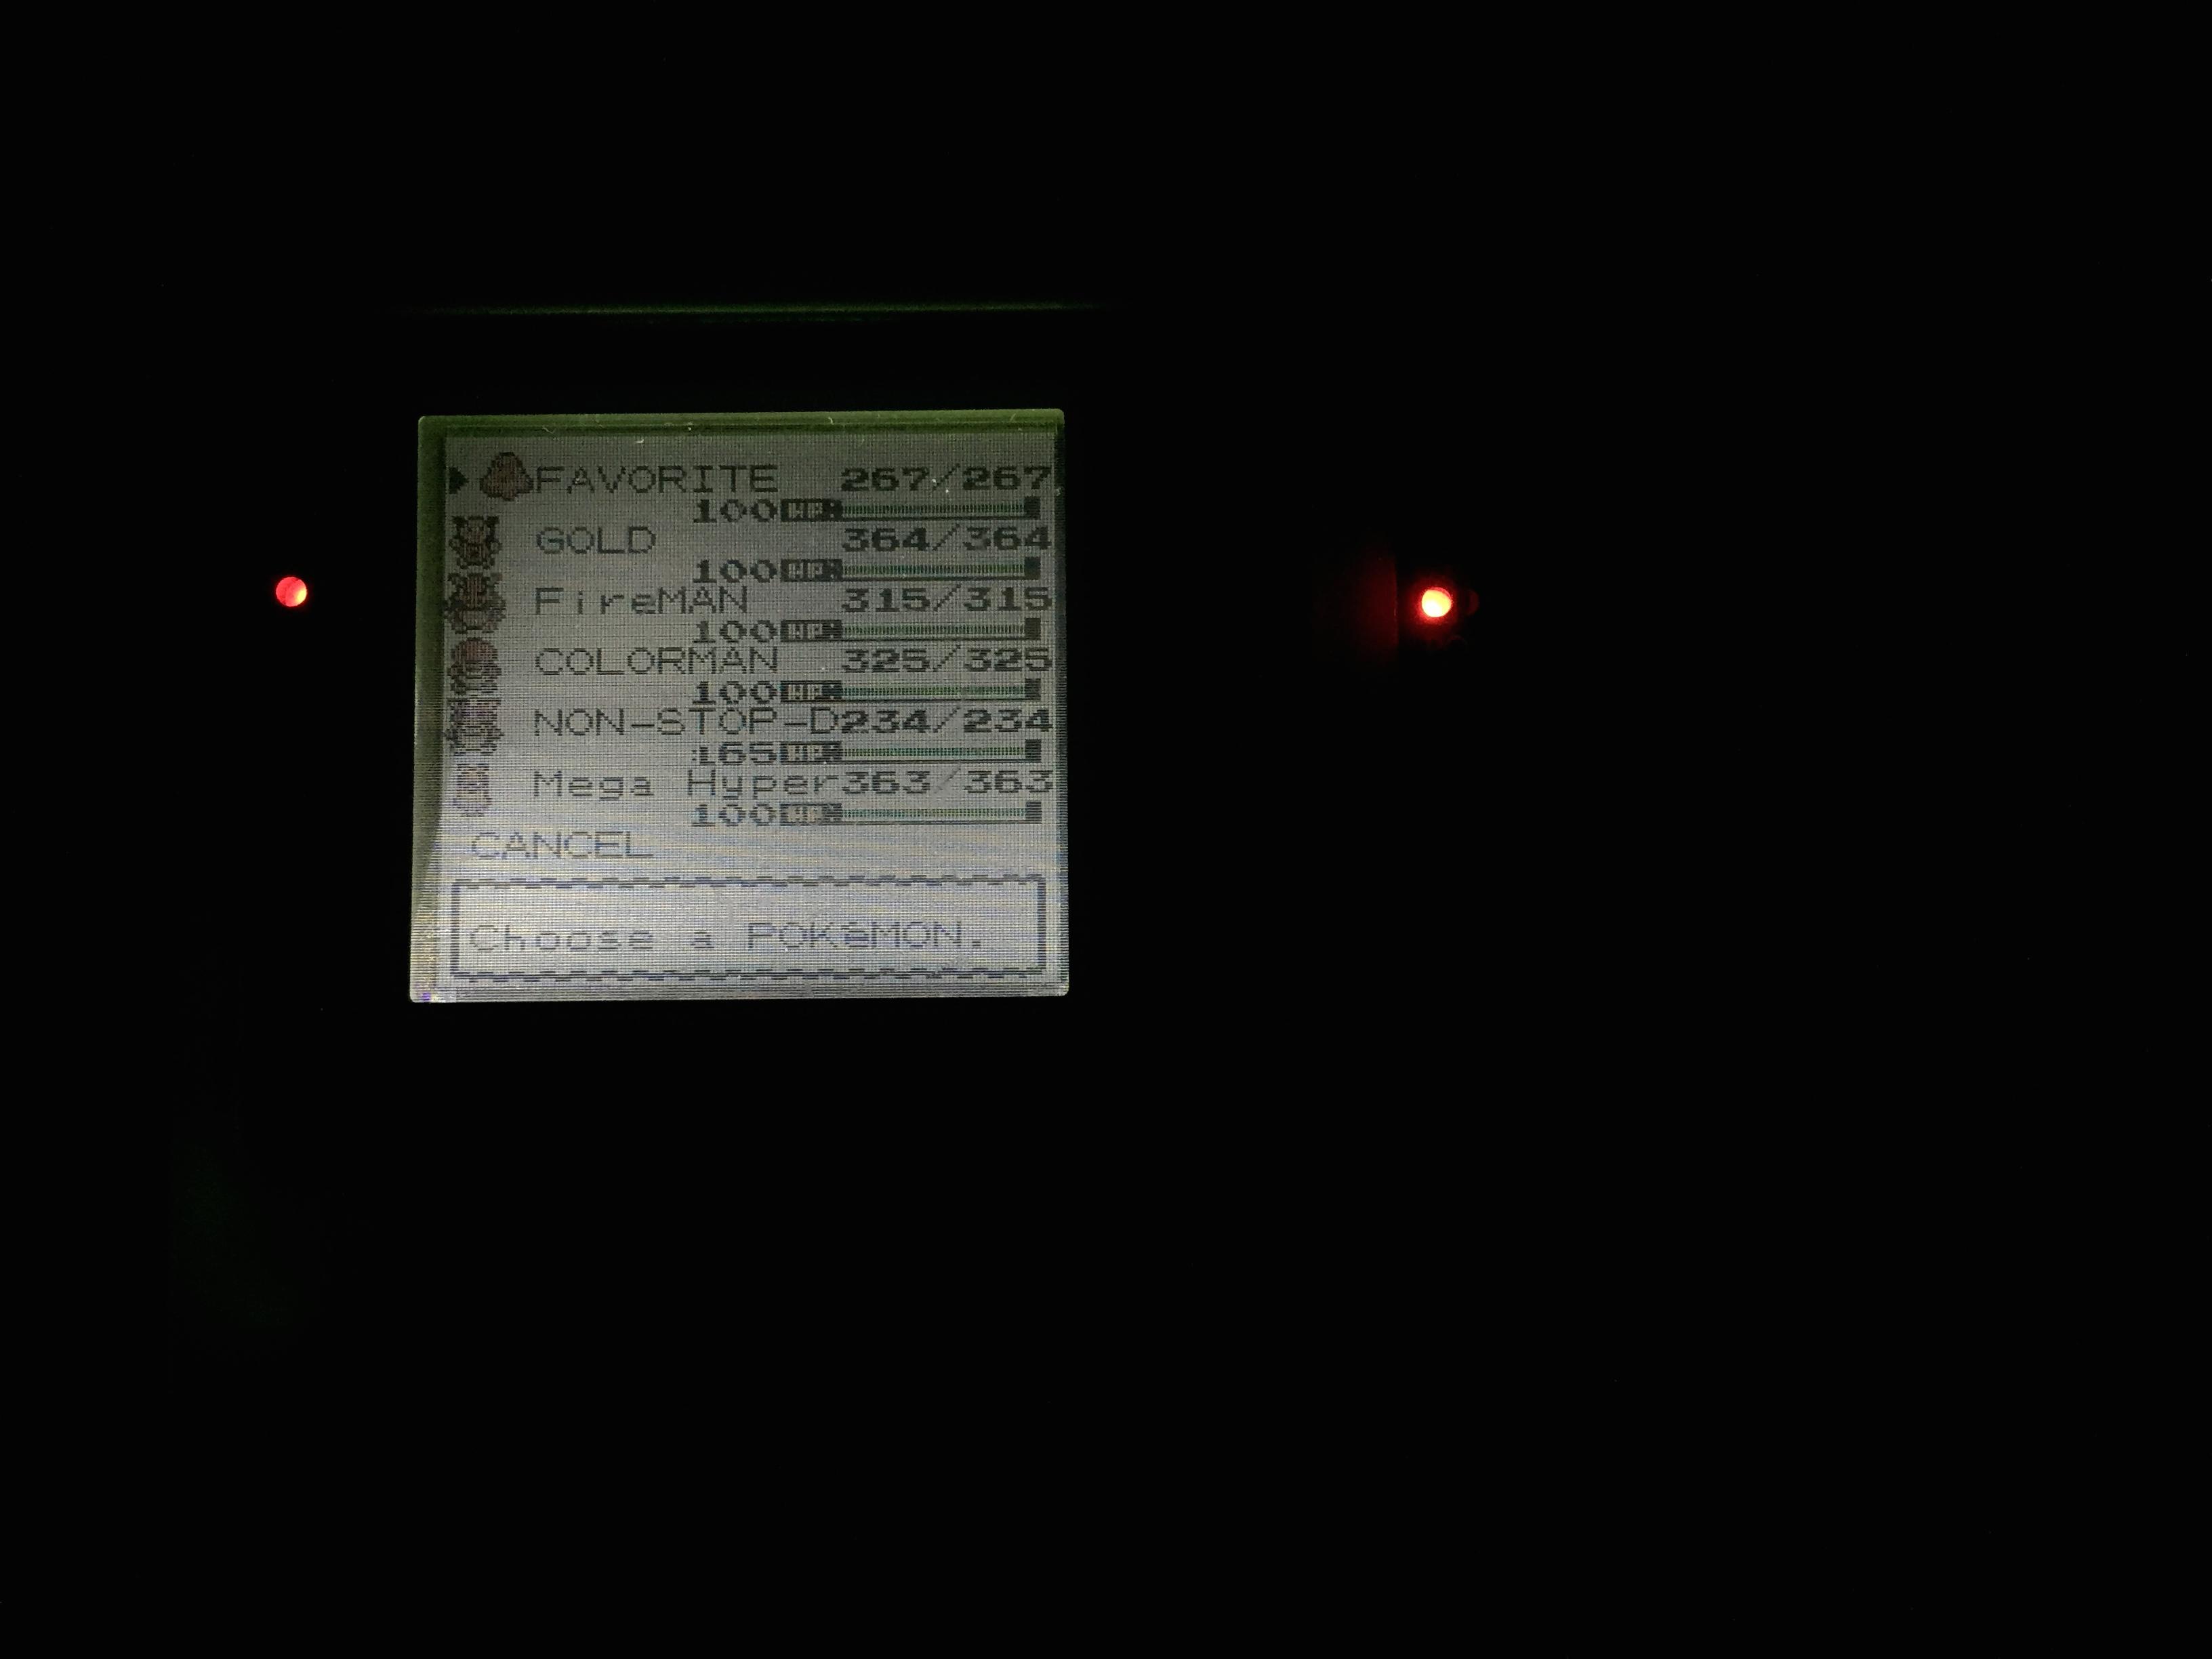
It's a little bit too bright to be used comfortably in the dark. There are further mods you can do that insert a filter to cut down on the reflectiveness of the gbc shell (which is responsible for some of the brightness), or installing a larger resistor for less power. I'm probably not gonna do either of those for some time, as I'm pretty surprised it came out as well as it did.
